How to Create a Custom Pet Portrait: A Unique Gift Idea
Creating a custom pet portrait is a thoughtful and unique gift idea for pet lovers. Not only does it showcase your artistic skills, but it also provides a keepsake that will be cherished for years to come. In this detailed guide, we will walk you through the process of creating a custom pet portrait, from gathering reference photos to selecting the right medium and completing the final touches.
1. Gather Reference Photos
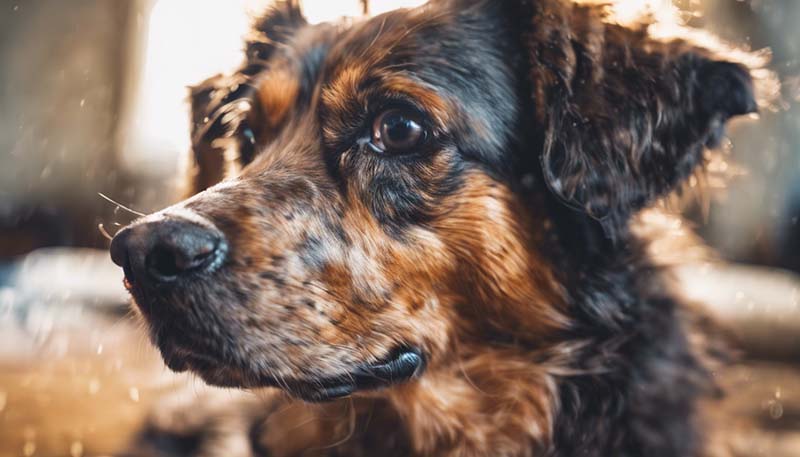
The first step in creating a custom pet portrait is to gather a collection of high-quality reference photos. These images will serve as the foundation for your portrait, so it's essential to choose photos that accurately represent your pet's appearance and personality. Consider the following tips when selecting reference photos:
- Choose clear, well-lit images that showcase your pet's features.
- Select photos with a variety of angles and expressions to capture your pet's unique personality.
- Avoid images with busy backgrounds or distracting elements.
- Ensure that the images are large enough to provide sufficient detail for your artwork.
2. Choose Your Medium
There are several mediums you can use to create a custom pet portrait, each with its own unique characteristics and advantages. Here are some popular options to consider:
- Pencil or charcoal: Pencil and charcoal drawings are a classic choice for pet portraits. These mediums allow for a wide range of values and subtle shading, making it easy to capture the intricate details of your pet's fur and features.
- Watercolor: Watercolor paintings can create a soft, ethereal effect that is perfect for capturing the essence of your pet. This medium is especially well-suited for creating a whimsical, vintage-inspired portrait.
- Acrylic or oil paint: For a more durable and long-lasting portrait, consider using acrylic or oil paints. These mediums provide rich, vibrant colors and can be applied in layers to create depth and dimension.
- Digital art: If you have access to a drawing tablet and software, creating a digital pet portrait can be a convenient and versatile option. This method allows you to easily make adjustments and experiment with different effects and styles.
3. Sketch the Composition
Before you begin your portrait, it's essential to create a rough sketch of the composition. This will help you plan the layout, ensure proper proportions, and make any necessary adjustments before committing to your final medium. To create a sketch:
- Lightly draw an outline of your pet's head and body, using the reference photos as a guide.
- Refine the details, such as the eyes, nose, and mouth, to ensure accuracy and proportion.
- Add any additional elements, such as a background or props, to enhance the portrait's overall design.
- Make any necessary adjustments to the composition, such as repositioning or resizing elements, to achieve the desired balance and harmony.
4. Refine and Add Details
Once you are satisfied with your sketch, it's time to refine and add details to your pet portrait. This step will vary depending on the medium you have chosen. Here are some general tips for each medium:
- Pencil or charcoal: Use a variety of pencil grades and shading techniques to create depth and texture in your pet's fur. Pay close attention to the direction and pattern of the fur, as well as the highlights and shadows that define your pet's features.
- Watercolor: Start by applying a light wash of color to the entire portrait, gradually building up layers to create depth and dimension. Use a variety of brush strokes and techniques to capture the texture of your pet's fur and the subtle variations in color.
- Acrylic or oil paint: Begin with a thin layer of paint to create an underpainting, then gradually build up layers to add depth and detail. Use a combination of brush strokes and blending techniques to capture the nuances of your pet's fur and features.
- Digital art: Use a variety of brushes and tools to create different textures and effects in your pet portrait. Experiment with layers and blending modes to achieve the desired level of detail and depth.
5. Add the Finishing Touches
Once you have completed the main body of your pet portrait, it's time to add the finishing touches. This may include:
- Enhancing the background or adding props to create a more dynamic composition.
- Adding any personalization, such as your pet's name or a special date, to make the portrait truly one-of-a-kind.
- Applying a protective finish, such as a varnish or sealant, to preserve your artwork and ensure its longevity.
6. Presenting Your Custom Pet Portrait
Finally, consider how you will present your custom pet portrait to the recipient. Some ideas include:
- Framing the artwork in a high-quality frame that complements the style and colors of the portrait.
- Creating a custom mat or border to enhance the presentation and add a personal touch.
- Including a certificate of authenticity or a personalized note to make the gift even more special.
Conclusion
Creating a custom pet portrait is a rewarding and meaningful gift idea that will be cherished by pet lovers for years to come. By following the steps outlined in this guide, you can create a unique and personalized piece of art that captures the essence of your beloved pet. Happy painting!